Assembly Steps
Follow each step in order to correctly assemble your Moza R3 Bundle. Complete one step fully before moving to the next. If you encounter resistance when fitting any component, stop and re-check the orientation before applying force.
-
1
Unbox and Inventory All Components
Before touching any hardware, lay every item from the box on a flat, clear surface. Confirm you have the Moza R3 wheelbase unit, the Moza ES steering wheel, the Moza SR-P Lite pedal set, the wheelbase mounting plate, all bolts and Allen keys included in the accessory bag, and the power adapter with cable. Cross-reference each item against the included packing list. Do not begin assembly if any component is missing — contact Moza support first.
-
2
Mount the Wheelbase to Your Desk or Rig
Attach the wheelbase mounting plate to the underside of the Moza R3 wheelbase using the M6 bolts from the accessory bag. Hand-tighten first, then use the provided Allen key to secure firmly — do not overtighten. Position the wheelbase at the front edge of your desk or rig crossbar, aligning the plate holes with your mounting surface. Clamp or bolt the plate in place using the C-clamp hardware (desk mount) or bolts (rig mount) supplied. The wheelbase should have zero lateral movement once secured.

-
3
Attach the Steering Wheel to the Wheelbase
Locate the quick-release shaft on the front of the R3 wheelbase. Align the spline pattern on the Moza ES wheel hub with the shaft — there is only one correct orientation, indicated by the alignment notch. Push the wheel firmly onto the shaft until you feel it seat fully, then rotate the locking collar clockwise until it clicks and stops. Give the wheel a firm pull to confirm it is locked. Do not run the wheelbase while the wheel is not fully locked in place.

-
4
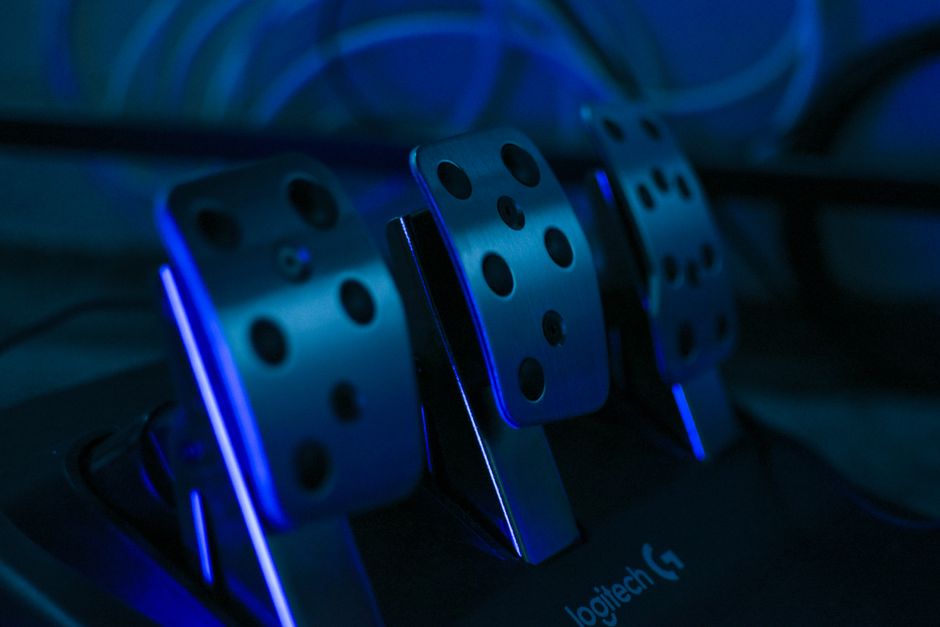
Position and Secure the Pedal Set
Place the Moza SR-P Lite pedal set on the floor in front of your seating position. The heel rest should sit flat on the floor with the pedal faces angled toward you at a comfortable angle. If you are mounting to a rig frame, align the pedal plate bolt holes with your rig's pedal mount points and secure with the supplied M5 bolts. For floor use without a rig, place a non-slip mat beneath the pedals to prevent movement during use. Adjust the brake and throttle pedal positions by loosening the side bolts, sliding to your preferred spacing, and re-tightening.
-
5
Connect the Pedal Cable to the Wheelbase
Locate the RJ12 cable supplied with the pedal set. Plug one end into the RJ12 port on the rear of the Moza SR-P Lite pedal set — the connector clicks when fully seated. Route the cable tidily along the floor or rig frame toward the wheelbase to avoid a trip hazard. Plug the other end into the RJ12 pedal input port on the rear of the R3 wheelbase. Confirm both ends are fully clicked in. Do not use extension cables not approved by Moza, as signal quality may be affected.

-
6
Connect Power and USB to Your PC
Plug the Moza R3 power adapter into the DC power input on the rear of the wheelbase. Connect the other end to a wall outlet — do not use a power strip without surge protection. Next, connect the provided USB-A to USB-B cable from the USB port on the rear of the wheelbase to a USB 3.0 or higher port on your PC. Avoid USB hubs; connect directly to the motherboard or a dedicated USB controller card for the most reliable connection. Do not power on the wheelbase yet — proceed to verify all connections before first power-on.

-
7
Final Check Before Power-On
Before switching the wheelbase on, run through this final pre-power checklist: the steering wheel locking collar is fully tightened and clicked; the wheelbase mounting plate has zero movement on your desk or rig; the pedal RJ12 cable is clicked in at both ends; the USB cable is connected directly to your PC (not a hub); the power adapter is plugged into a surge-protected outlet; and the area around the steering wheel has at least 30 cm clearance on each side for wheel rotation. Once all checks pass, press the power button on the side of the R3 wheelbase. The wheel will perform a short self-calibration rotation — this is normal. Hardware assembly is now complete.